There are two wireless network available in Wolf Hall. Depending on your location in Wolf Hall, you will see the eduroam and/or BISC Wi-Fi signal. Both connections require sign in with your UDel email address and UDel password.
- eduroam Wi-Fi
- BISC Wi-Fi
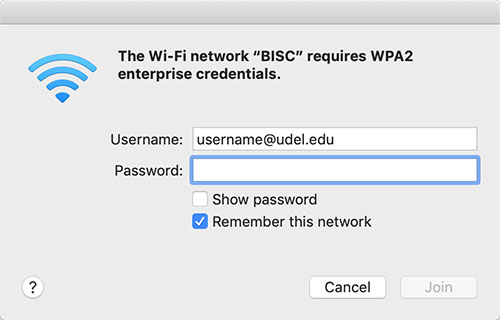
BISC Wi-Fi Instructions
- Select the BISC Wi-Fi SSID from the macOS Wi-Fi selection.
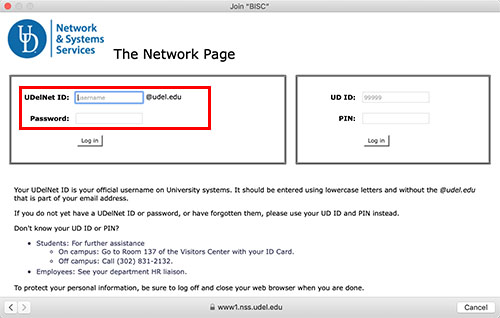
- Username: Enter your full email address
- Password: Your_UDel_password
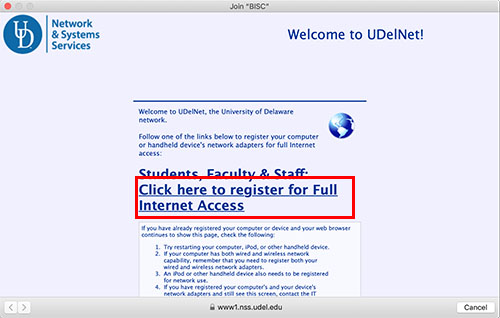
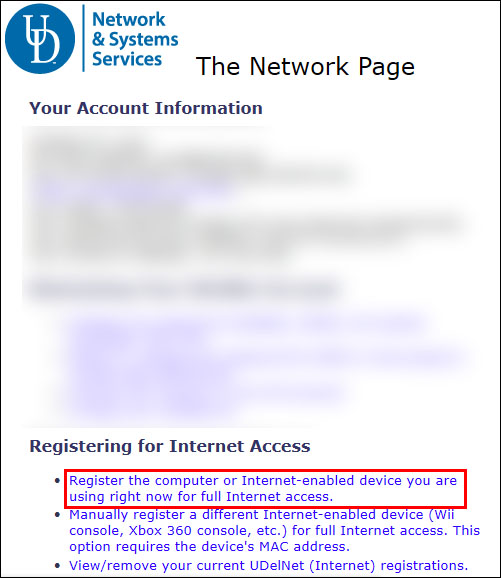
- If your computer is not registered, you will be presented with the registration window. Click on the link Click here to register for Full Internet Access and sign in. If you do not see the registration window, you can also register by visiting the UD Network Page.
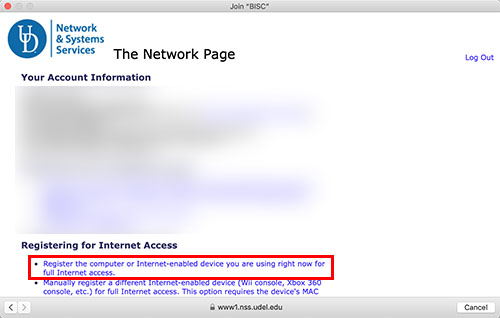
- Click on Register the computer or Internet-enabled device you are using right now for full Internet access.
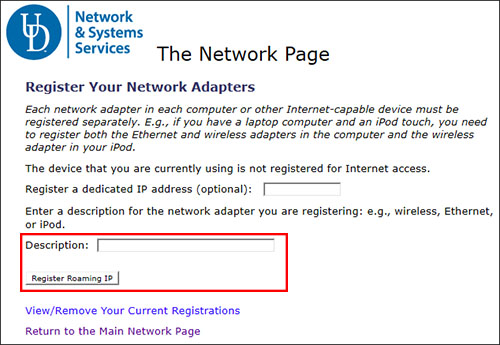
- Type in a description to identify your device (optional).
- Click Register Roaming IP

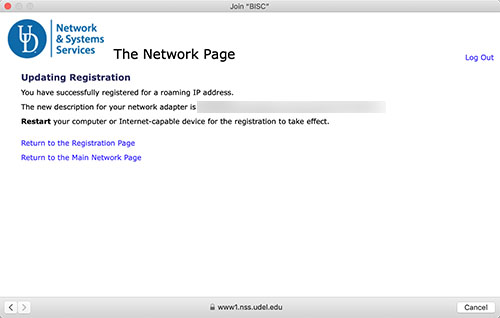
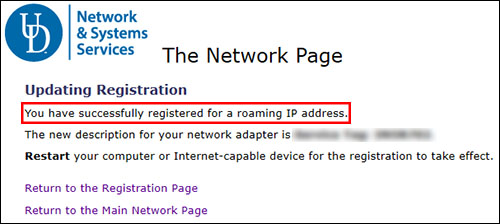
- You should see You have successfully registered for a roaming IP address.
- Restart your computer.
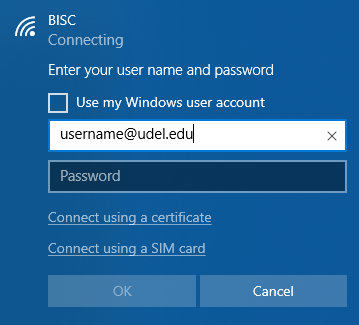
- Select the BISC Wi-Fi SSID from the Windows Wi-Fi selection.
- Username: Enter your full email address
- Password: Your_UDel_password
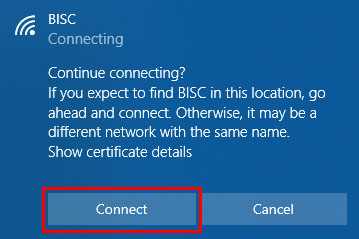
- Continue connecting?
- Click ‘Connect’
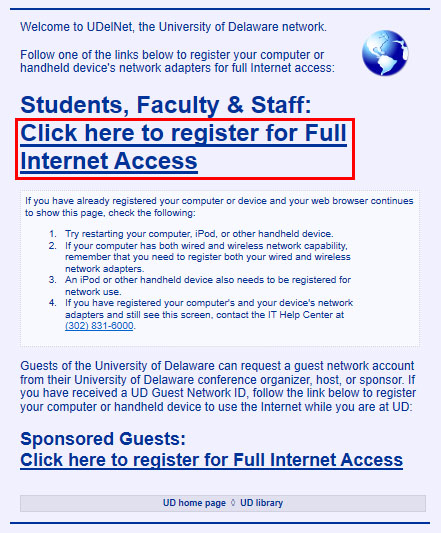
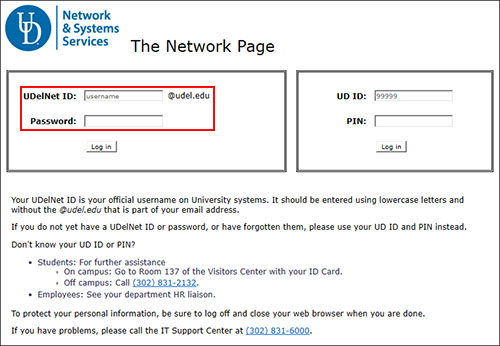
- If your computer is not registered, you will be presented with the registration window. Click on the link Click here to register for Full Internet Access and sign in. If you do not see the registration window, you can also register by visiting the UD Network Page.
- Click on Register the computer or Internet-enabled device you are using right now for full Internet access.
- Type in a description to identify your device (optional).
- Click Register Roaming IP
- You should see You have successfully registered for a roaming IP address.
- Restart your computer.
- Select the BISC Wi-Fi SSID
- EAP method: PEAP
- Phase 2 authentication: MSCHAPV2
- CA certificate: Select Use system certificates
- Domain: enter nps01.biosci.udel.edu
- Identity: enter in your UDel email address
- Password: enter in your UDel password
- Remember to disable Randomized MAC Address
- Remember to also register your Phone MAC address